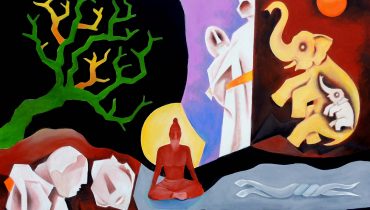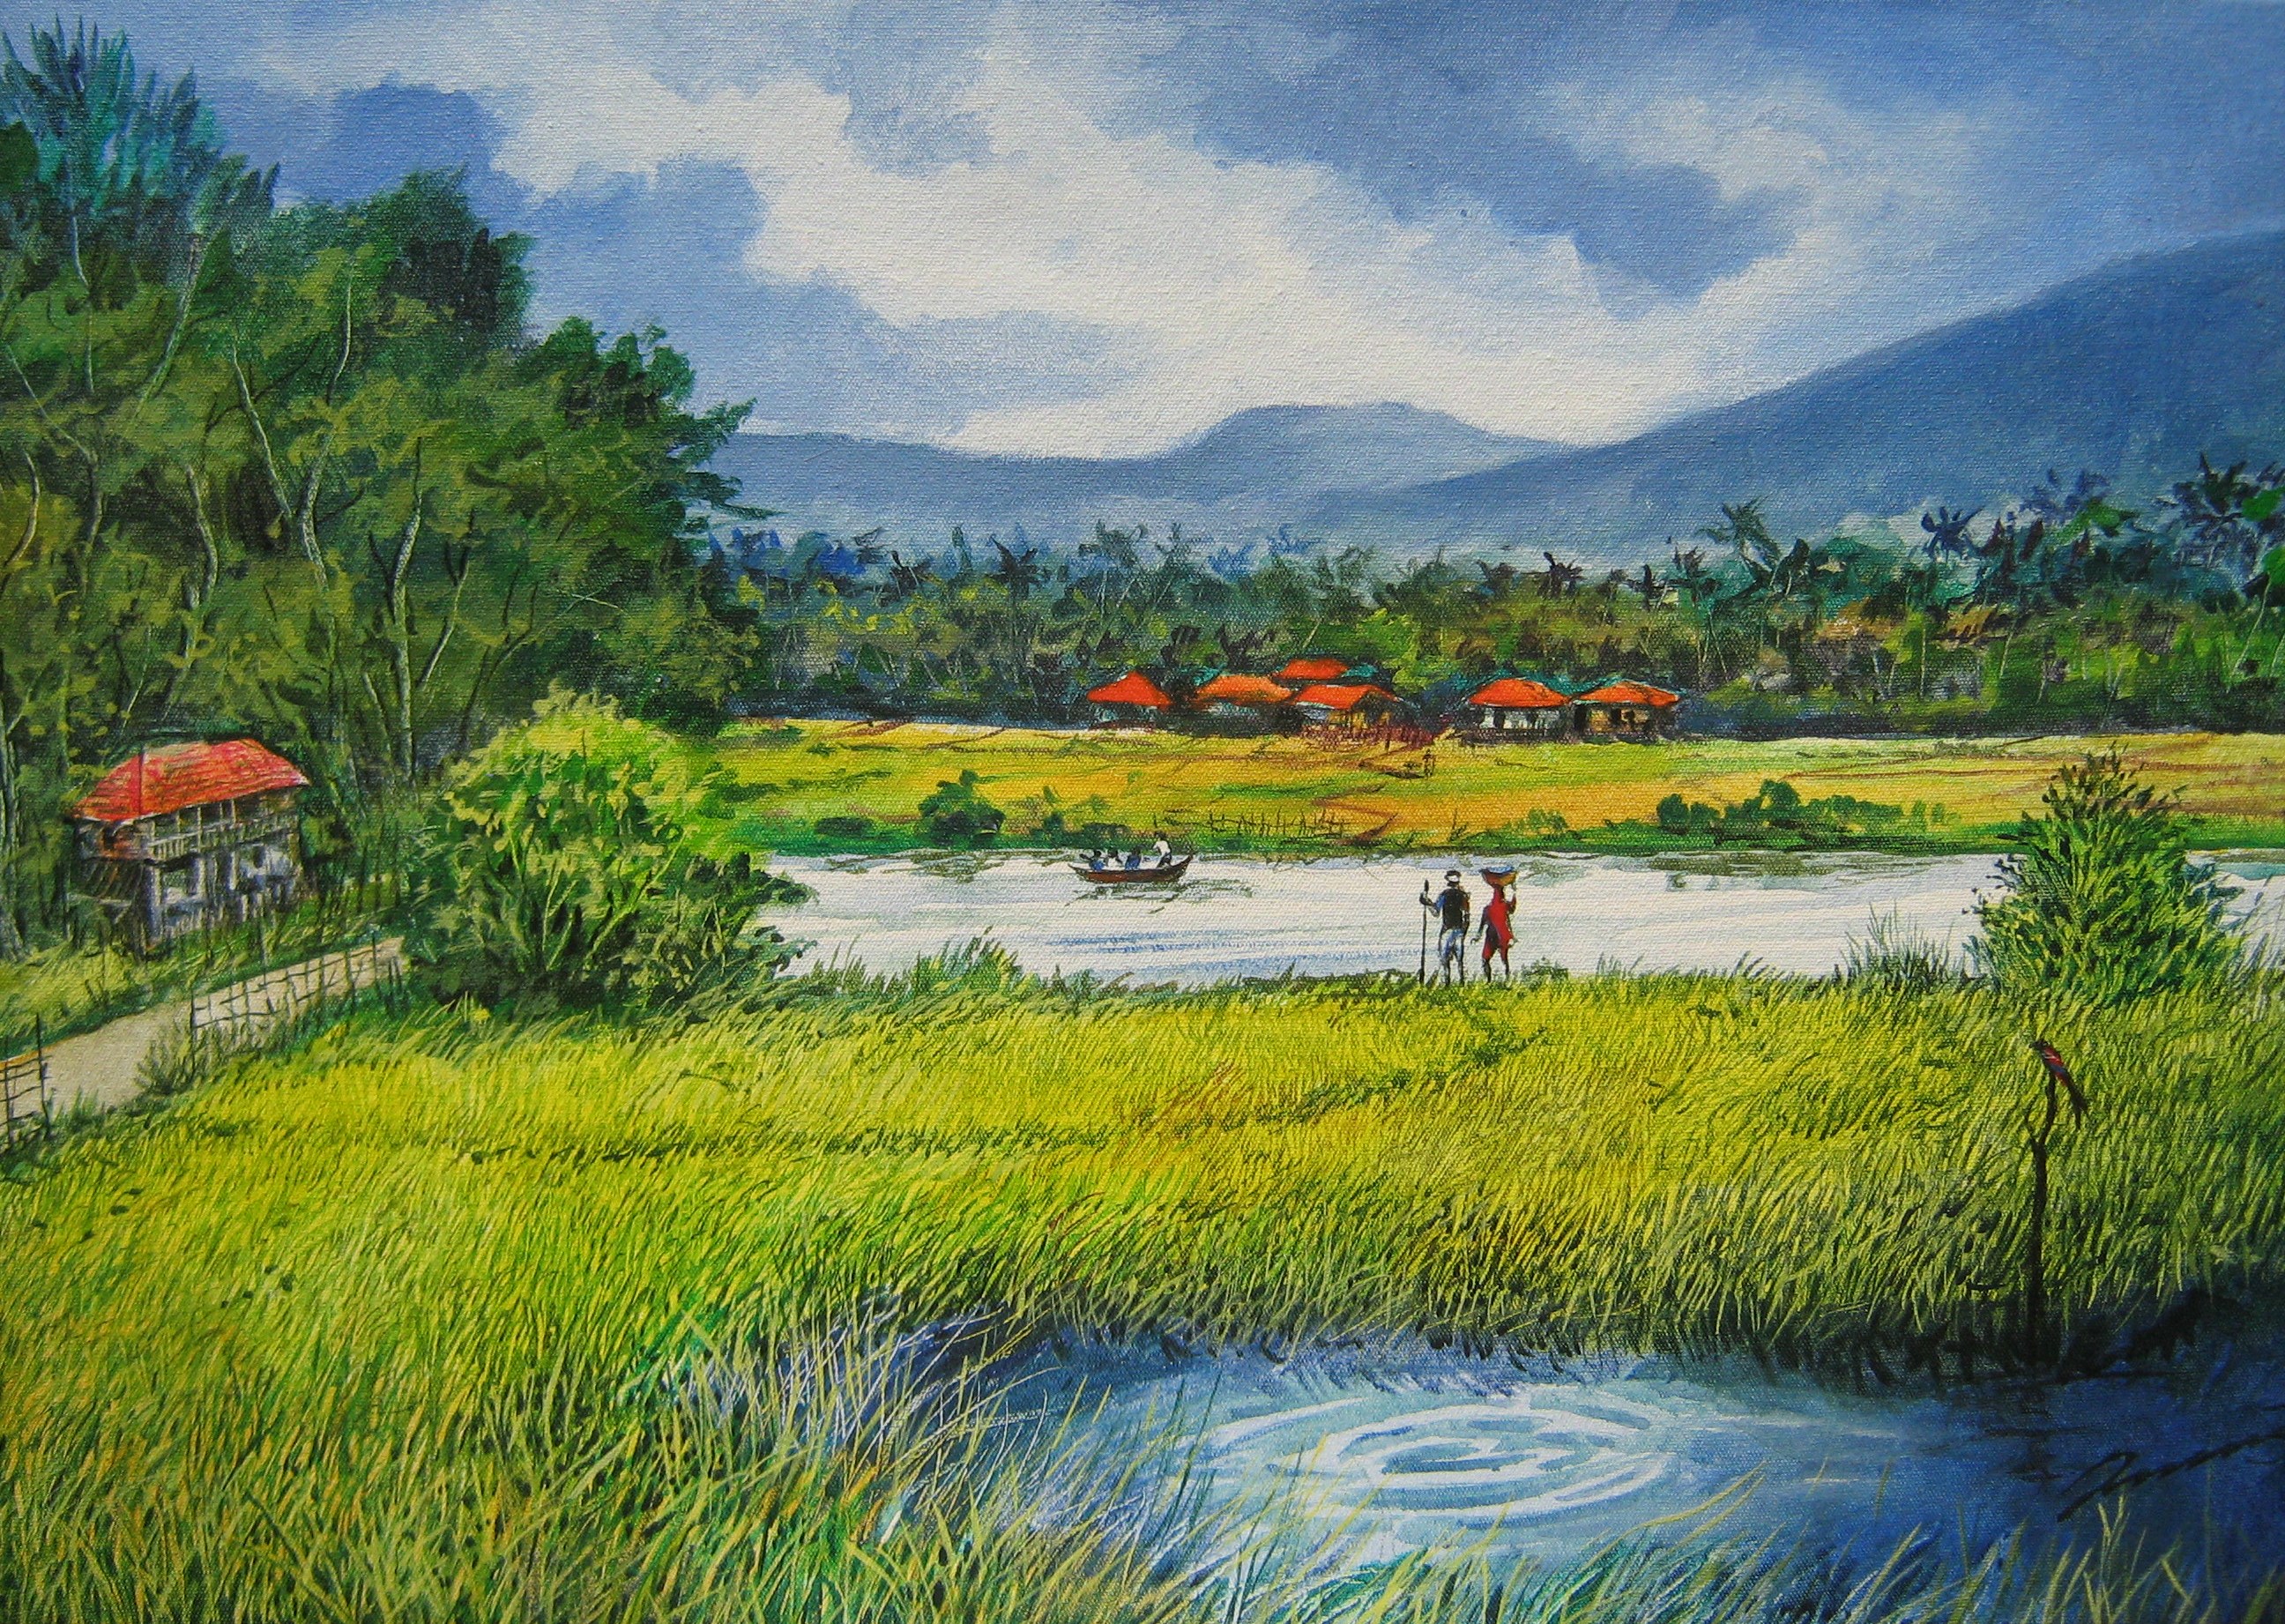
How to Make a Huge Landscape Art Painting
For a viewer, a landscape art is that sort of art which is capable of bringing the bliss of nature and picturesque scapes inside their spaces. Painters love sprucing their spaces with paintings that can fill the lack of the outer view or can quench their thirst for traveling to some extent.
However, just like the grass seems to be greener on the other side but it is not, making a landscape art is not as easy as you might think it of being. In fact, it is all fun and games till the time you are one buying it. Making it is a tedious task that requires patience and concentration. Moreover, even after being extremely meticulous and patient while making a landscape, not all are able to make it look surreal.
Nevertheless, some say making landscape on a big canvas is relatively easy than making one on a small canvas. Yes, to some extent it is true but in order to make it look like its real, you need to follow certain steps. Take a look to know more.
Step 1
First of all, it is important to choose a scenery that you actually want to make. Don’t just go out of your house, click a picture and come back to make a landscape artist. Hunt for it. You can search for I ages on the internet or take out the album of your vacations. Or maybe, wait for the landscape that actually makes you want to draw it instantly. Be patient while searching the scape you want to draw. If you will draw something that doesn’t interest you much, you will leave it halfway.
Also, remember the mistakes in small-sized paintings might not be as noticeable as they will be in large-sized paintings, so be careful.
Step2
After deciding what you want to draw, take the canvas and divide it into three sections. Mark the center with a sign of X.
Decide your horizon line and the central point of the canvas. Also, decide what emotion you want to deliver with the landscape you are beginning to make.
Step 3
Begin with coloring the four basic elements with dark color and abstract shapes. Do this while keeping in mind the four basic planes.
- The Sky – This is the source of light and it is the lightest in color.
- The Ground Plane – The ground plane reflects the sky and that is why it is the second lightest.
- Slanted Planes – The slanted planes include mountains, hills, rocks and they all get less light.
- Upright planes – Trees and buildings are generally upright planes and they get the least of light on them.
Step 4
Start adding the drama. Start giving more definition to the trees and the ground and the sky. While making the tree, make the area underneath the tree dark and warm, light from the top. If you don’t have much of the idea pertaining to lighting, try to observe it in reality. Go to a park nearby and see the interplay of the light and its reflection on the objects.
Apart from this, it is always a good idea to keep the colors that you will be using for say a tree, on the palette and mix them according to the requirement. This will also help you in focusing on the object otherwise, your mind will get diverted if you will have to every time search your color tubes for the color you need. This also makes the colors in the mysterious painting look more realistic. Also, add the color to the foreground and the barn to make the foreground evident.
Step 5
Use thick paint and after that start scraping. You can also use a knife for this purpose. This will make the painting more interesting. Keep the painting soft but leave the corner hard.
Step 6
Start making the colors more opaque and start focusing on the values. Though at this point, your paint will get all the thicker, scrape it still and soften the edges. Continue the process. Use big brushes and knives, after all the painting you are making, is huge. Keep adding details to the sky, ground, foreground, and animals, if there are any.
Step 7
Did enough of scraping? Stop it and wind everything down. Use small flat brushes and work on the details that require the use of small and fine brushes.
The best tip at this point would be to take a picture of your work and look at it. By looking at the picture you will get where your inventive landscape art needs more color and where the colors need to shun down.
Give the finishing touches to your Landscape art and you will be done. Also, give your painting a little extra time to dry if it’s an oil painting.